Big drill, Apex, and Famous Commanders Oh My!
Let's throw in everything and the kitchen sink for this battle report. We will both be using Famous Commanders, V2 beta rules, and the Apex fauna with its experimental rules.
Allied Resistance commanded by Jessie Adams, Guide of the Damned
V.S.
The Scourge commanded by Eden's Dinosaur
The scenario: Careful Advance
Corner deployment, 2 Critical Locations, 3 Objectives in the buildings. Along with the Dropzone v2 beta rules we added extraction points along the centerline. Extraction points are an alternative extraction type rather than the typical extraction off of your board edge for the extra VP. In extraction points you have to have the objective on the extraction point at the end of the game. This means you have to hold on to your objectives and protect them for the whole game which has been a lot more more fun in my experience.


And the Apex fauna.


Typically fauna are fairly neutral, they are like NPCs that run around and attack anything in their way. The Apex however has "intelligence" which means that on a certain roll each turn one person or the other controls the Apex this turn.
The Apex also comes with genetic modifications. The rules state that each opponent chooses one modification to change up the Apex for each game. We choose to do it randomly.

We ended up rolling for Shredding Claws to give the Apex 2d6 shots and Colossal, which gives him DP7. This proved be a very interesting for this match. DP7 would be tough given it has Armor 9 and Evasion 1. The worst though is the 2d6 energy 9 shots. That is a lot of shots against some very squishy armies. Against UCM with their standard A10 or PHR's general tanky-ness this wouldn't be too bad but Scourge can be very squishy and the resistance has some very weakly armored units. A ton of E9 shots is the equivalent of E13 shots to other armies plus a ton of shots.
The Lists, for me I ran Jessie Adams, the Allied Resistance Commander with the Big Drill.


"Bertha" (The big drill) is capable of deploying resistance wagons instead of just technicals and freeriders like the normal drills. Also all Resistance Fighters have "Prepared Trap Detonators" 1 Shot, Energy 10, 4+ Ac with a 24" full and countered range. This isn't an amazing weapon but with all of your infantry at the walls of a building it gives you a good amount of shots.
I have planned for 3 gun wagons (AA) and 3 fire wagons through the Bertha drill. My plan was to use Bertha behind enemy lines to take out aircraft and perhaps burn some buildings. The other two drills would deploy the freeriders and Scout ATVs on the Critical Locations.
The battlebuses, without a kraken to transport them, would be a little slow so they would go after the home objective, the lifthawk and other infantry going for the center objective and perhaps CQB with 6 infantry bases.
The scout ATVs were new to me, they have a shot (Disrupter Array) that doesn't do damage but does add Ac penalties to the units hit by their weapon. They also help Indirect Fire (Artillery) weapons with a -1 to the IF weapon's AC. I combined that with Thunder Wagons will give me some good AT punch with good accuracy.
Eden's Dinosaur

My opponent ran the above list. Eden's Dinosaur is pretty deadly having 6 energy 9 shots with Strafe, allowing them to target multiple units. It also has a lot of DP making it quite a target to take down.
The Game
Critical Location #1.


My opponent dropped his Despoiler with six Hunters and 3 Reapers. A Marauder with two slayers were waiting to drop the next turn. My drill deployed by the CL but scattered too much to be able to score for the CL. The Scout ATVs deployed out and used their Disruptor Array on the Hunters. Most of them got hit 3 times making their shot an 5+Ac, pretty much making them useless.
My Kraken with Gun Wagons deployed and ran behind a civilian bus for cover. We used the civilian vehicles as Barricades from the V2 rules. This would give my Gun Wagons cover but behind a destroyable Barricade. Gun Wagons only damage scourge aircraft on a 4+, which isn't great, so going after the Despoiler would have been too difficult. He instead went after the Marauder with the Slayers and killed it in one shot, destroying a Slayer on a crash landing. The non-disrupted hunters then destroyed the bus/barricade and left the Gun Wagons as sitting ducks.
My Hannibals' Dropped and Shot (another V2 rule) and missing because of 6s for the drop and shoot and the skimmer bonus. That left the killing down to my Thunder Wagons. With the Scout ATVs and their special spotting the gun Wagons were able to take out most of their Hunters and Reapers before they got to do much.
Despite all of my work, most of the Critical Locations went to my opponent as he had more points.
Critical Location #2

My opponent did not contest the second Critical Location. My drill deployed and scattered far out of range to score. The freeriders deployed and planted on the CL to score the points for the CL.
Scourge Home Objective
The Scourge deployed their Infantry in Invaders in their home Objective. Bertha deployed right behind them and deployed Fire Wagon. The Fire Wagons did their job and burned a good amount of Infantry only to be destroyed by the Scourge aircraft. The Scourge responded to Bertha by deploying their Prowlers on Bertha in order to kill her.


Luckily she survived another turn with 2 Dp. One of Jessie Adam's other advantages is that your opponent has to kill every Drill in order to kill the commander. Bertha dying was inevitable but I needed her alive to deploy the second squad of Gun Wagons.
The next turn she deployed her Gun Wagons and was staring at a the Marauder for the Infantry, Eden's Dinosaur, a Reaver and probably some light transports if I really looked. Eden was tempting shot but I was unlikely to kill him. Getting rid of the Reaver would have been nice but not necessary. Scenario-wise the most tempting target was the Marauder with the infantry. If I can kill the infantry's transport I can prevent him from extracting the objective for the second VP. This went much better than I could possibly have imagined. The Marauder died, crashed, and destroyed both Invaders below him. The infantry were now stuck in their building.


The Scourge were able to pull a Secret Entrance Command Card in order to leave the home building and still have the distance to enter the building across from the extraction point. Although, this still leaves a problem of getting to the extraction point without dying. This is also a medium/20Dp building so I sent everything at it including one shot from a Thunder Wagon. With V2 anything without Demolition cannot get a critical hit against a building so Demo isn't as easy as it once was (and is in a better position in my opinion). The building lasted the turn with 4Dp and my opponent won the initiative to get him out of it.
I redeploy a drill, through a Jessie Adams command card, on the extraction point and deployed the Freeriders. Eden's Dinosaur and the Reaver, without any AA to worry about, destroyed the Drill, two Hannibals and tried to work on the Freeriders. The Freeriders destroyed the infantry and took the objective and ran towards in the CL for the last CL score. However, before I could, the Scourge played the Razorbirds card against the Freeriders. This was tough because the Freeriders survive based on their Evasion +3 to make them hard to hit. The Razorbirds card does D3 damage and ignores all of that. A roll of 5 or 6 would have killed the Freeriders, make me lose the VP and the CL point, 3 VPs in total. The Freeriders survive with 1DP, an objective on the CL.

Resistance Home Objective:
The BattleBuses deployed in the home building however I forgot to hide them from the Apex.

This gave the Apex activation to my opponent. The Apex would soon make his way to attack my BattleBus. 2D6 Energy 9 shots is a lot for a squishy BattleBus to take, he was completely annihilated.
I won a couple of Apex activations and was able to move him towards the center of the board. I took a couple of shots and did a few Dp of damage. This is a tough decision as you don't want to kill it because you want to use it for yourself against your opponent. But, if you keep losing the activations, not killing it may bite you back. At one point I was forced to deploy in the center objective building right next to the Apex. If I had lost the objective then my Jacksons would be easily destroyed.

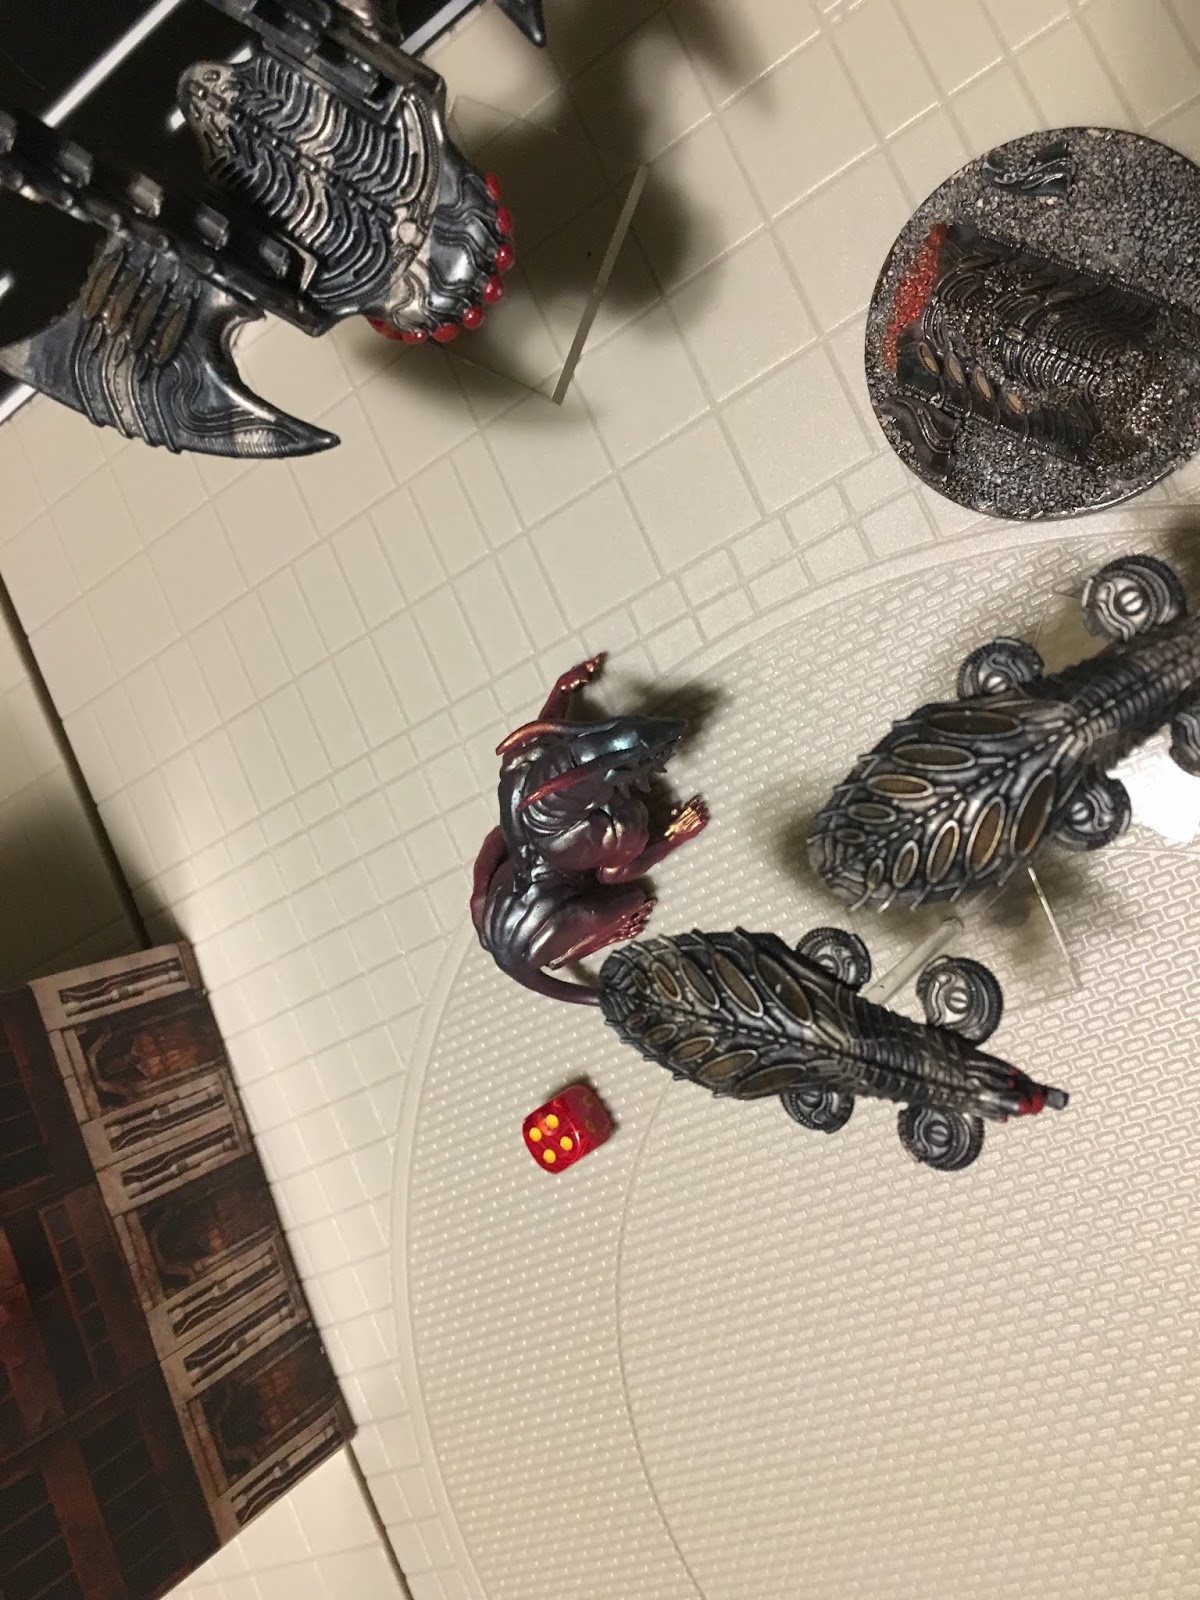
Now at this point I had a thought, "What happened to those Destroyers?" Anyone who has fought against Destroyers should be quite familiar with them and respect their CQB power. Anyone who has fought them should also know not to lose sight of them. Just as I had this thought my opponent moved them towards my home objective building. I took a couple of reactionary shots with the Lifthawk's dinky AA shot but they did nothing. The Destroyers moved into the building and completely annihilated my infantry leaving the objective never to be found.
The Apex would then continue to the first Critical Location, eat one of my Scout ATVs and clear out that CL for my opponent. I did score one more activation with the Apex and destroyed my opponents remaining Slayer. With my Kraken I picked up the remaining BattleBus and was able to score the last point on the Critical Location.
The middle objective was able to be found by Resistance Infantry and was able to extract on the last turn.
Final Score.
Resistance: 17
Scourge: 6
What survived:
Mostly my Lifthawks and my two squads of infantry, most of everything else was dead. These two armies sacrifice a lot in order to accomplish their goals.
MVP(s):
Thunder Wagons and Scout ATVs. Quite a combo. The spotting bonus and the squishyness of the scourge made the Thunder Wagons very potent.
Wooden Spoon:
No one did terrible, probably the BattleBuses and their infantry squads. I should have had my Gun Wagons focusing on the Destroyers as you basically have to kill them in the air and as their CQB will take out most of everything.
What we missed:
1. Fire tokens. My Flame Wagons should have started fires in the Scourge home objective building. Fires do more damage each round and automatic collateral damage. Fire is fun but probably wouldn't have changed much, probably killed that infantry squad faster.
2. Famous Commanders can score CLs/FPs. I forgot about this and, as I was teaching V2 to my opponent, didn't tell him. If he had known that he would have easily scored the second CL. This would have easily evened the score considerably.
Other thoughts:
Famous Commanders: At 170 points Jessie Adams is a cheap famous commander but restrictive given I can't take any of the heavier Resistance units. She was fun and I don't think she was overpowered in any way. I would like to see them become tournament worthy. The ones that are really powerful are also really expensive. Jessie Adams was fun and I'm excited to play more of them.
Apex: Fun. A lot of fun. Nervous rolling as you want to win and use them but it can be devastating if you don't win the activation. Do you kill it, do you hope to win the initiative. It was hard for Jessie Adams as she is used best with her infantry at the walls using their prepared traps, but that gives your opponent a +2 to their Apex activation roll.
Dropzone Commander Version 2.0: I like it, much better than V1. So much so that I can't see going back to V1 ever. Extraction points are much more interesting, Demolition is in a much better place, transports are more important. The biggest concerns, Drop and Shoot and Open Transports, are not game breaking. In fact they weren't even felt in this game at all. I've played probably a dozen or so 2.0 games since the closed beta and I haven't felt too much of a problem.
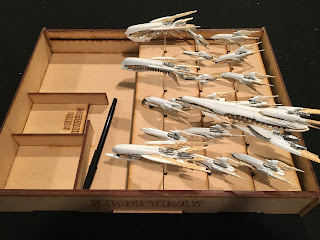
Picture Dump:


Comments
Post a Comment